Viral ChatGPT Photo Editing Prompt: Easy Instagram Guide
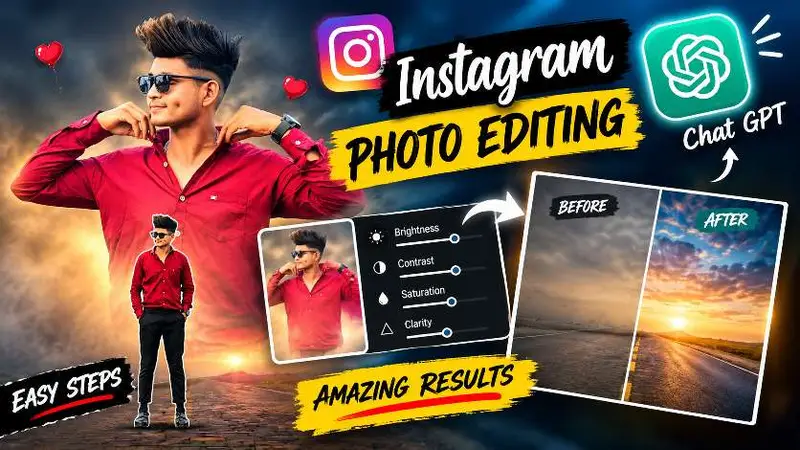
A viral ChatGPT photo editing prompt can turn an ordinary phone picture into a polished Instagram visual with cinematic color, layered portraits, atmospheric backgrounds, and professional-looking light. The appeal is simple: you can create a dramatic transformation without needing advanced Photoshop skills or a costly desktop workflow.
This style works especially well for profile photos, reels, stories, fashion posts, and before-and-after videos. The strongest results do not simply add effects. They preserve the person’s identity, respect the original background, and make every layer feel as if it belongs in the same photograph.
Why This Viral ChatGPT Photo Editing Prompt Is Popular
Social feeds move quickly, so an image needs a clear visual idea to earn attention. A cinematic portrait edit creates that instant impact through scale, depth, contrast, and color. A soft background portrait can establish mood, while a sharp foreground figure gives the composition energy and realism.
Read Also: South Hero Mass Photo Prompt for Cinematic Instagram Edits | Independence Day Photo Editing ChatGPT Prompt Guide
Creators also enjoy this approach because it makes a basic selfie feel intentional. A normal road, sky, or outdoor scene can become the foundation for a poster-like design while still keeping the original atmosphere recognizable. That balance between realism and creativity is what makes the edit suitable for Instagram rather than merely looking like an artificial filter.
- Strong visual hierarchy: the eye notices the main subject immediately.
- Cinematic atmosphere: fog, glow, and color grading create emotional depth.
- Personal identity: the subject remains recognizable instead of becoming a generic character.
- Social-friendly composition: the final image can work in a feed post, reel cover, or story.
How to Prepare Photos for a ChatGPT Instagram Edit
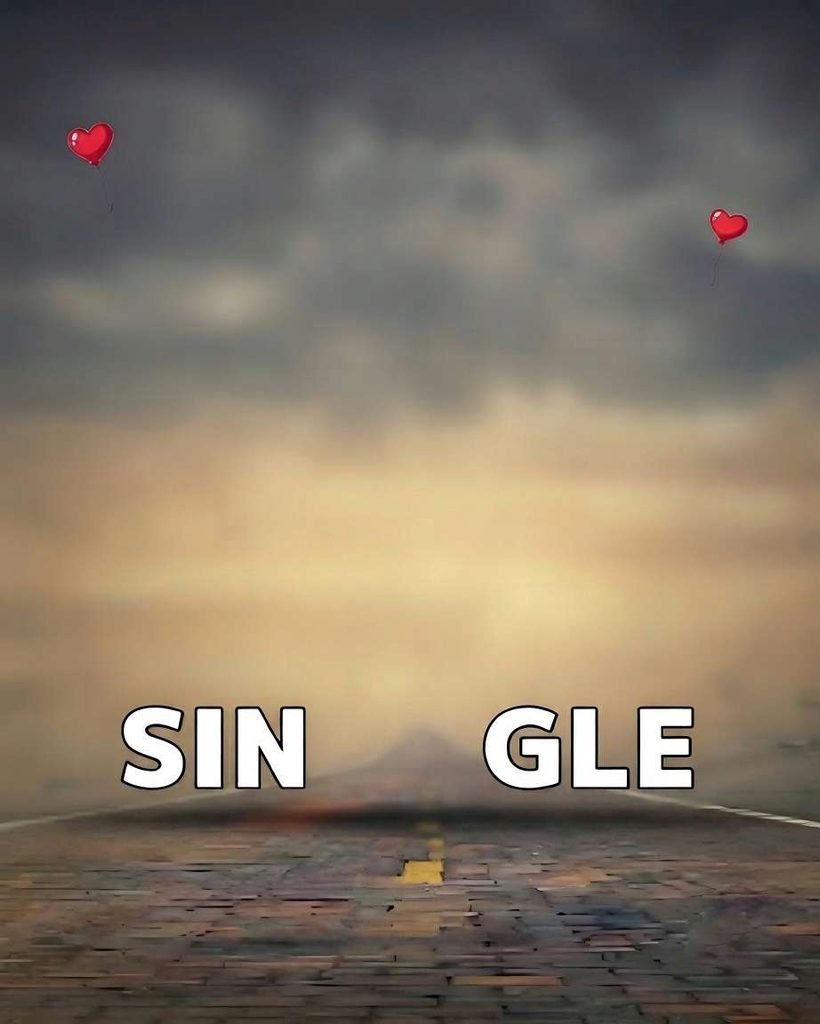
Good source images make AI photo editing more reliable. Choose a background image with a clear composition and enough space for the person to be placed naturally. A road, open walkway, soft sky, or uncluttered outdoor scene usually gives the editor room to build depth.
For the subject photo, use a well-lit image with visible facial features and clothing edges. Full-body images are helpful when you want a realistic standing figure, while a portrait or half-body photograph can work for a large faded layer. Avoid images where the subject blends heavily into the background, because fine hair, hands, and clothing edges may require extra correction.
Before uploading, check the following preparation points:
- Use the highest-resolution originals available.
- Choose photos with natural expressions and recognizable features.
- Avoid strong filters that change skin tone or face shape.
- Keep accessories such as glasses, watches, bags, and jewelry visible.
- Use a background with lighting that can reasonably match the subject.
These steps support a more accurate AI photo editing workflow and reduce the need for unwanted face changes, invented details, or rough cutout edges.
How the Viral ChatGPT Photo Editing Prompt Builds Depth
The composition is based on layered storytelling. A larger portrait sits softly behind the main figure, while a smaller, sharper person occupies the foreground. This creates the impression of a designed poster without making the image feel flat.
The rear portrait should remain visible enough to recognize, but it should not compete with the foreground subject. Subtle transparency, gentle feathering, and careful color matching help it blend into the sky or distant scene. The front figure, by contrast, needs crisp edges, believable scale, and contact with the ground.
Perspective is equally important. If the foreground person appears too large, too small, or disconnected from the road, the entire edit loses realism. Matching exposure, shadows, camera angle, and color temperature helps both source images appear to have been captured in one location.
Cinematic Layered Portrait Effect
Use the following prompt block when you want a poster-inspired composition with a soft upper portrait and a clear foreground subject. It is designed for careful subject separation, identity preservation, background protection, and realistic integration.
After generating the result, inspect the face, hairline, fingers, shoes, clothing edges, and contact shadow at full size. If anything looks unnatural, refine only the affected area rather than changing the entire composition. Small corrections usually preserve more of the original identity and background.
Viral ChatGPT Photo Editing Prompt Settings That Matter
Although the prompt provides the creative direction, the uploaded images still determine much of the final quality. Keep the main subject clear and avoid unnecessary enhancements that make skin look plastic or clothing lose its texture.
| Editing element | Preferred result | Common mistake |
|---|---|---|
| Background | Original details stay intact | Replacing or redesigning important scenery |
| Upper portrait | Soft, centered, and slightly blended | Making it too faint or too dominant |
| Foreground person | Sharp, proportionate, and grounded | Floating feet or incorrect scale |
| Face and skin | Natural identity and skin tone | Over-smoothing or changing facial structure |
| Lighting | Consistent exposure across layers | Artificial highlights and harsh contrast |
For a cleaner result, review the output at both thumbnail size and full resolution. At thumbnail size, confirm that the main figure is instantly readable. At full size, look for halos, duplicated details, strange fingers, uneven hair, or a shadow that does not match the direction of the light.
How to Make AI Photo Editing Look Natural
Realism comes from restraint. Rather than asking for dramatic changes everywhere, focus on a few controlled improvements: clearer separation, balanced color, subtle atmosphere, and accurate perspective. The original photo should still feel like the foundation of the edit.
Natural skin tones are particularly important. A strong color grade can make the scene feel cinematic, but it should not turn the person orange, gray, or unnaturally pale. Likewise, clarity should improve important features without creating sharp outlines around hair or clothing.
Grounding details also deserve attention. Feet should meet the road or floor, the shadow should be soft, and the lower body should follow the same perspective as the environment. These small details often matter more than extra glow or decorative effects.
For more background on how generative image systems are commonly discussed, readers can explore generative artificial intelligence. You can also review official AI product guidance for general information about using image-capable tools responsibly.
Ways to Use a Viral ChatGPT Photo Editing Prompt on Instagram
This style can support several content formats without requiring a completely different image for each one. A carefully composed result can become the hero image for a profile, a cover for a transformation reel, or a visual anchor for a themed carousel.
- Before-and-after reel: begin with the unedited photo, add a beat-synced transition, and reveal the cinematic result.
- Profile refresh: use a consistent color palette across portraits to make the page feel more deliberate.
- Story reveal: show a cropped detail first, then reveal the complete composition.
- Fashion post: emphasize clothing texture, pose, and accessories while keeping the background restrained.
- Creative campaign: repeat the same visual language across several posts without changing the subject’s identity.
When posting, use a caption that explains the transformation rather than making unsupported claims about the image. If the edit is heavily generated or composited, transparency can help viewers understand the creative process.
Common Problems With AI Instagram Photo Editing
Even a strong viral ChatGPT photo editing prompt may produce issues when the source photos conflict. Different camera angles, shadows, image quality, or clothing colors can make the composite look assembled instead of photographed.
One frequent problem is excessive background alteration. If the original scene is part of the visual concept, changing its text, balloons, road, sky, or lighting can weaken the intended design. Another issue is over-editing the face. A polished result should still look like the person who supplied the photo.
When something goes wrong, make the request more specific about the affected area. Ask for accurate edge cleanup, natural perspective, realistic grounding, or identity preservation. Avoid stacking many unrelated effects, because the model may prioritize decoration over structure.
FAQ About Viral ChatGPT Photo Editing Prompt
What is a viral ChatGPT photo editing prompt?
It is a detailed instruction used to guide an AI image editor toward a popular social media style. This type of prompt usually describes subject placement, background preservation, lighting, color, realism, and the desired final composition.
Can a viral ChatGPT photo editing prompt work with a selfie?
Yes, a selfie can work when the face is clear and the image has enough visible detail. The editor may need to complete limited shoulder or body areas, so a cleaner crop and natural lighting generally produce better results.
Is this cinematic portrait editing prompt suitable for reels?
Yes. The finished image can serve as a reel cover or as the final frame in a before-and-after transformation. Keep the main subject centered and leave enough visual space for platform cropping.
Final Tips for a Better AI Photo Transformation
A successful edit begins with a clear visual goal and suitable source photos. Decide whether the image should feel romantic, dramatic, fashionable, or atmospheric before you upload anything. Then protect the details that make the subject recognizable.
Use the viral ChatGPT photo editing prompt as a starting point, not a replacement for review. Check the composition, correct small errors, and export the final image at a resolution that keeps faces and clothing sharp on mobile screens. Ready to create your own cinematic transformation? Upload your best photo and start experimenting today.
Leave a Reply