Neon Portrait AI Prompt: Easy Viral Photo Editing Guide
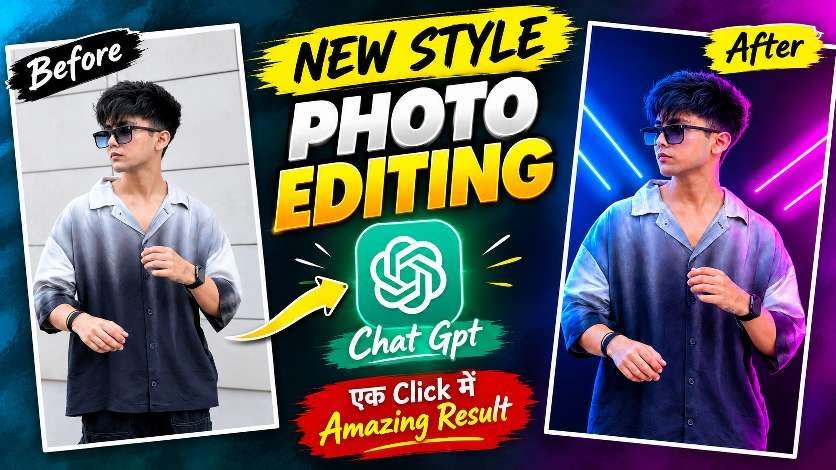
A neon portrait AI prompt can turn a simple selfie into a polished studio-style image with striking blue and pink light. This popular editing approach gives creators a fast way to refresh profile photos, social posts, thumbnails, and fashion visuals without spending hours inside a complex editing application.
The appeal is not only the bright color. A successful result keeps the subject recognizable, blends the person into the new environment, and adds the depth, contrast, and atmosphere associated with professional portrait photography. With the right source image and a careful review process, the effect can look intentional rather than artificial.
What Makes a Neon Portrait AI Prompt Work?
A strong neon portrait AI prompt gives an image tool a clear visual target while protecting the features that matter most. It should communicate the desired mood, lighting direction, composition, image quality, and output dimensions without encouraging unnecessary changes to the person.
Read Also: Fog Lights Photo Editing Prompt: Easy AI Portrait Guide | South Hero Mass Photo Prompt for Cinematic Instagram Edits
The best edits treat the uploaded portrait as the identity reference and the designed scene as the visual setting. That distinction helps the system preserve facial structure, hairstyle, clothing, body proportions, and pose while creating a more dramatic atmosphere around the subject.
| Creative element | Desired result |
|---|---|
| Color | Controlled blue and magenta illumination with natural skin tones |
| Background | A clean, futuristic studio environment that supports the subject |
| Lighting | Visible color spill on hair, shoulders, and clothing |
| Composition | Balanced subject placement with enough breathing room |
| Finish | Sharp, realistic, premium portrait quality |
This balance is important because heavy glow, excessive saturation, or a perfectly smooth face can make an image look synthetic. Neon lighting should appear to come from the scene, not from a colored filter placed over the entire photograph. For background inspiration, the visual behavior of real neon lighting is a useful reference.
Why the Neon Portrait AI Prompt Feels So Premium
The effect works because it combines several familiar photography techniques in one visual treatment. A dark environment creates contrast, colored edge light separates the subject from the background, and controlled highlights give the portrait a cinematic sense of depth.
Blue and pink are also highly effective together. Blue suggests a cool, polished atmosphere, while pink adds warmth and energy. When each color stays on its own side of the frame, the image gains structure without overwhelming the face.
Creators often use this style for social media because it reads clearly even when the image is viewed on a small screen. Strong color separation catches attention in a busy feed, while a natural face gives viewers a reason to keep looking. The result can feel like a professional campaign image rather than a routine phone snapshot.
However, visual drama should not come at the expense of authenticity. A believable AI neon portrait still needs realistic eyes, natural hair edges, accurate hands, consistent clothing, and shadows that match the direction of the colored lights.
How to Use a Neon Portrait AI Prompt Step by Step
Before applying the effect, choose a source photo that gives the image tool enough information to work with. A clear portrait with visible facial features and moderate lighting usually produces a more dependable result than a dark, blurry, or heavily filtered selfie.
- Select a suitable photo. Use a front-facing or slightly angled portrait with the face, hairline, shoulders, and clothing clearly visible. Avoid images where another person overlaps the subject.
- Check the composition. Leave some space around the head and shoulders so the finished scene does not feel cramped. A balanced crop is easier to place inside a designed background.
- Upload the required references. Keep the person photo separate from the scene reference when the editing workflow asks for more than one image. This helps the system understand which elements belong to the subject and which belong to the environment.
- Apply the supplied editing block. Let the image tool process the scene, then inspect the result instead of accepting the first version automatically.
- Review identity and anatomy. Look closely at the eyes, fingers, jawline, hair, shoulders, footwear, and clothing patterns. These areas often reveal errors before they become noticeable in a feed.
- Export for the destination. A vertical 4:5 composition works well for many portrait posts, while a square crop may be more practical for profile grids. Save a high-resolution master before making smaller copies.
Work through these steps calmly. A good AI photo editing workflow is not just about generating an image; it is about selecting the right source, checking realism, and making sure the final crop supports the intended platform.
Prepare the Source Portrait Carefully
Good preparation improves the chance of a clean composite. Remove sunglasses, strong face filters, and distracting foreground objects when possible. Make sure the original image has enough resolution to show individual hair strands and the edges of the clothing.
Do not assume that a full-body image is automatically better. A close or half-body portrait may produce stronger facial detail, while a full-body photograph can work well when the scene has enough open space for natural scale and perspective.
Review the First Result Before Sharing
Zoom in on the completed image and compare it with the source. The face should still look like the same person, the pose should remain physically believable, and the colored light should touch the subject in a way that matches the background.
If something feels wrong, identify the exact issue rather than asking for a vague improvement. Specific feedback about scale, spacing, lighting balance, or an artifact generally leads to a more useful revision.
The Neon Studio Composition Prompt
This section is designed for the supplied two-image editing workflow. Use it when you want the person from an original portrait to appear naturally inside a prepared neon studio composition while keeping the scene structure and the subject’s identity consistent.
Place the following prompt block into the compatible image-editing workflow after preparing the reference images:
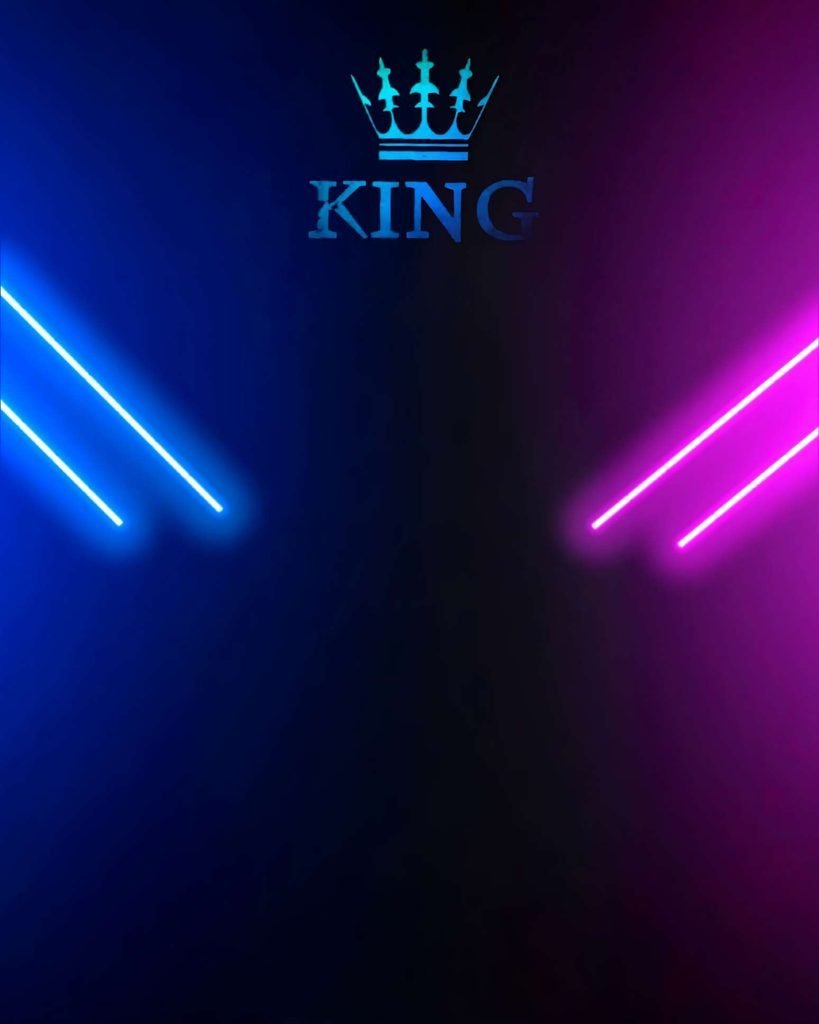
After generation, inspect the relationship between the person and the background first. Pay particular attention to headroom, side lighting, edge blending, and whether the subject looks photographed in the environment rather than pasted over it.
Neon Portrait AI Prompt Quality Checklist
Use this checklist before downloading or publishing the finished image. It helps separate a compelling portrait from an edit that only looks impressive at a quick glance.
- Identity: The face, expression, hairstyle, and important features still resemble the source photo.
- Edges: Hair, ears, fingers, and shoulders have clean transitions without halos or leftover scenery.
- Light: Blue and pink reflections appear on the subject with believable falloff rather than a flat overlay.
- Scale: The person has comfortable space above and beside them and does not crowd the main background design.
- Color: Skin and clothing remain credible even when the surrounding light is vivid.
- Anatomy: Hands, eyes, teeth, feet, and body proportions look natural at full size.
- Output: The image is sharp enough for its intended use and has the correct vertical or square dimensions.
It is also wise to check the image at both full resolution and mobile size. Some small artifacts disappear in a thumbnail, while others become more obvious when the image is viewed on a phone.
Best Uses for an AI Neon Portrait Prompt
This visual treatment is flexible enough for several content formats. It can give a personal profile image a stronger identity, add atmosphere to a creator introduction, or make a simple fashion photograph look more editorial.
- Profile pictures: Use a close crop with clear eyes and moderate color intensity.
- Social posts: Keep the brightest highlights near the face so the image remains readable in a scrolling feed.
- Short-video covers: Leave open space where platform text or interface elements may appear.
- Fashion content: Let the colored reflections reveal fabric texture without changing the garment design.
- Personal branding: Repeat the lighting palette across several images to create a recognizable visual identity.
For a consistent series, keep the color relationship, contrast level, and crop style similar from one image to the next. Consistency makes separate AI-generated portraits feel like part of one campaign.
Neon Portrait AI Prompt FAQ
What is a neon portrait AI prompt?
It is a set of instructions that guides an image-editing system toward a portrait with vivid colored lighting, a dramatic background, and a polished studio finish. The strongest instructions also explain what must remain unchanged, such as the person’s identity and natural proportions.
How do I use a neon portrait AI prompt with my photo?
Start with a clear portrait, upload the required reference images, and apply the supplied editing block in a compatible image workflow. Review the output carefully, then request focused corrections if the crop, lighting, or facial details need adjustment.
Can a neon photo editing prompt keep my face realistic?
Yes, but the source image and review process matter. A well-lit photo, specific identity-preservation guidance, and a final check for plastic skin, altered features, or facial artifacts can all improve realism.
What size should an AI neon portrait be for Instagram?
A vertical 4:5 canvas is a practical choice for feed portraits because it uses substantial screen space without excessive cropping. Keep a high-resolution original, then create platform-specific versions so important details are not cut off.
Conclusion: Try a Neon Portrait AI Prompt Today
A neon portrait AI prompt offers a fast route from an ordinary phone photo to a vivid, cinematic portrait. The most convincing results come from combining a suitable source image, a carefully controlled scene, realistic light interaction, and a patient quality check.
Use the supplied workflow as a starting point, preserve the details that make the subject recognizable, and refine only the areas that need attention. Prepare your favorite portrait and try the effect today to create a distinctive image for your next post.
Leave a Reply